To clean chicken nesting boxes, collect any eggs, remove the bedding, manure, and debris, scrub the box with a chicken-friendly cleaner, rinse with a garden hose, dry it in the sun, and refill with fresh nesting material. Hens are picky tenants — if a nesting box gets too dirty, they’ll stop laying in it and find their own sweet spot somewhere you don’t want eggs landing. Regular cleaning keeps them laying where they’re supposed to and cuts down on broken or dirty eggs. Below walks through each step in order, the products that are safe to use, and how often to repeat the process.
Cleaning nesting boxes requires collecting eggs and removing nesting materials, chicken manure, and other substances. Get a chicken-friendly cleaning product to clean and disinfect all containers. Use the garden hose to wash them properly. Let it dry naturally in the sunlight, and then put it back in its original location and add nesting materials.
Key Takeaways
- Clean nesting boxes by collecting eggs, removing bedding and manure, then scrubbing with a chicken-friendly cleaner.
- Rinse with a garden hose, dry in the sun, and refill with fresh nesting material.
- Hens stop laying in boxes that get too dirty and find their own hidden spots.
- Regular cleaning keeps hens laying where they should and reduces broken or dirty eggs.
How To Clean Chicken Nesting Boxes?
When was the last time you cleaned your chicken nesting boxes?
Chicken keepers should at least clean the bird boxes once a month.
The following are the steps you want to follow if you are wondering how to clean chicken nesting boxes.

Step 01: Collect The Eggs
Don’t you collect eggs every day from the nesting boxes?
If not, there might already be a lot of eggs piled up on the nesting.
Collect all eggs from the bird boxes.
Look for corners and the lower section of the boxes to pick all the eggs.
Step 02: Remove All The Nesting Materials
Chicken keepers use various types of nesting materials.
Pine shavings, straw, hay, cedar shavings, shredded paper, grass clippings, etc., are the most commonly used items.
Before cleaning the nesting boxes, you want to remove the nesting materials.
All get off poop, broken egg matter, and other substances.
Use gloves and wear a mask to maintain hygiene.
Step 03: Get Off Other Things From The Nesting Boxes
Have you not cleaned the nesting boxes for a long time?
If not, various items, such as dirt, feathers, chicken poops, food residues, etc., might be stuck in the corners of the nesting boxes.
Closely look in each hook and sideways. Scoop out everything from the nesting boxes using a small shovel.
It will be better if you can dissemble some parts of the nesting box.
This will give you more accessibility to remove dirt from hard-to-reach areas.
Step 04: Make The Nesting Boxes Wet
The next job is cleaning the nesting boxes.
If your nesting boxes are not fixed, take them out of the chicken coop for easy cleaning.
Use a garden hose to water the nesting boxes lightly.
Step 05: Use A Cleaning Agent
Grab a natural or chicken-friendly cleaning product like a chicken coop deodorizer.
You can use a mixture of white vinegar and water. Apple cider vinegar and baking soda are also good too.
Avoid using any bleaching or harsh cleaning products. They may harm your chickens.
Apply the solution carefully in all areas of the nesting boxes.
Use a soft sponge to rub the area where the chickens sit gently. There might be some chicken droppings.
A sponge can help you to scrape out the hard chicken manure by weakening it.
Wait for a few minutes after applying the cleaning solution. You may need to use the solution twice if there is still some dirt.
Step 06: Wash The Nesting Boxes
After removing all the dirt, slightly increase the water pressure of the nesting boxes.
Then, wash all the nesting boxes one by one.
Let them dry naturally. You should start cleaning the nesting boxes after mid-morning.
Most chickens are likely to complete their laying job after mid-morning.
Plus, there will be enough sunlight to quickly make the nesting boxes moisture-free.
Step 07: Wash The Nesting Boxes
Once they become fully dry, please keep them in their original location.
You should not change it, as chickens may feel uneasy.
Add a good-quality nesting material on top of the nesting boxes. The layer should be at least two or three inches thick.
It needs to be soft enough to cushion your flocks.
Add a few herbs to attract chickens, such as bay leaves, lemon balm, lemongrass, Chamomile, basil, etc.
What Happens If You Don’t Clean The Chicken Nesting Boxes?
There are consequences of not cleaning nesting boxes regularly, such as:
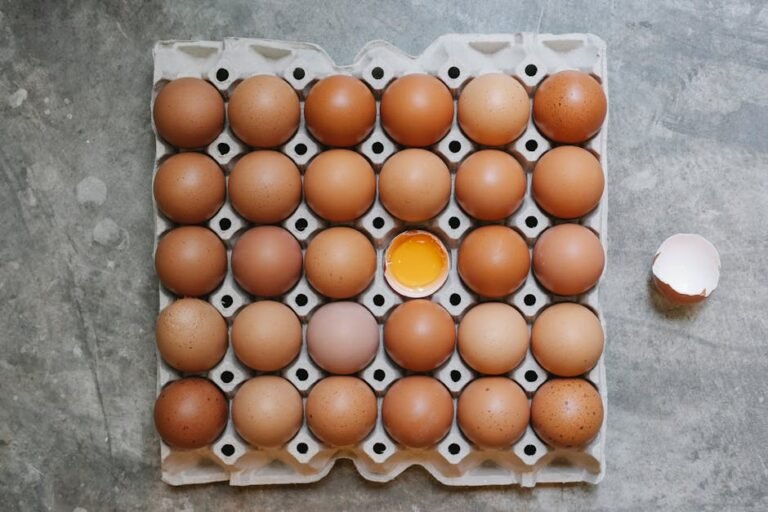
01. Dirty Eggs
Periodic cleaning of nesting boxes will make eggs dirty from chicken droppings.
You will have to spend additional time cleaning the dirty eggs.
Plus, hens may break or crack them if the eggs are not properly visible.
02. Unhealthy Environment
Not cleaning the chicken nesting boxes on time will create an unhealthy environment.
The chicken manure will start rotting and smell worse.
This will lead to bacterial and fungal growth. It may cause different illnesses.
A dirty environment may directly affect different chickens’ organic systems.
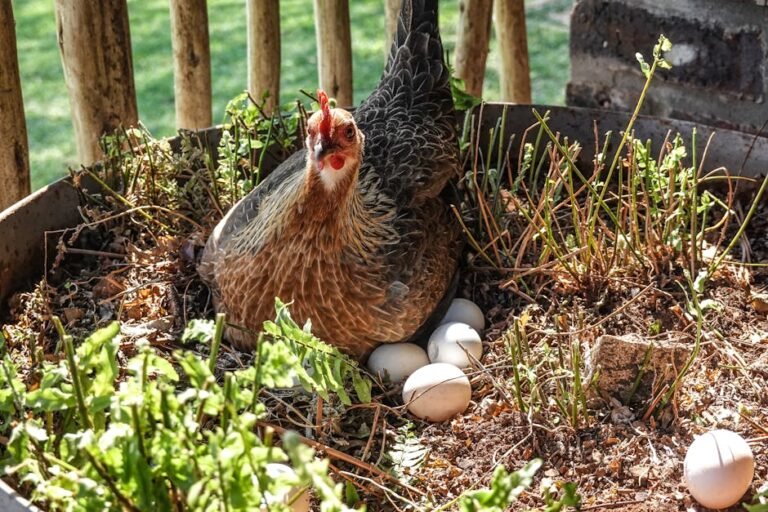
03. Laying Eggs Somewhere Else
Chickens prefer to lay eggs in a fresh and clean area.
Your hens may reconsider their decision to lay eggs in a dirty area.
It may lay eggs somewhere else where it finds a more comfortable environment.
04. Ammonia Problem
Apart from chronic health issues, dirty nesting boxes may cause high levels of ammonia.
It generally happens when your flocks spend several hours every day.
A dirty environment is more likely to affect its sensitive respiratory system.
05. Less Egg Production
Hens may lay fewer eggs if you don’t provide them with a natural and healthy environment.
Generally, hens feel less secure when the surrounding environment is dirty.
A clean environment keeps them safe from various viruses and health issues.
06. A Horrible Mite Infestation
Mites thrive in dirty and cluttered environments.
These small arachnids bite and extract blood from the chicken’s body.
They may cause feather loss, low egg production, anemia, or even death in extreme cases.
Keeping the nesting boxes clean will prevent mites from visiting nesting boxes repeatedly.
When To Clean Chicken Nesting Boxes?
Changing the nesting bedding material after one or two weeks is a solid rule of thumb.
Chickens droppings will make the bedding material dirty over time.
You may need to replace the bedding less frequently if only a single hen uses each nesting box.
But, frequent changing is necessary if 3 or 4 flocks use the same nesting box to lay eggs.
Besides, you want to clean the nesting boxes deeply at least once a month.
It will help keep the nesting smell fresh and encourage hens to lay eggs comfortably.
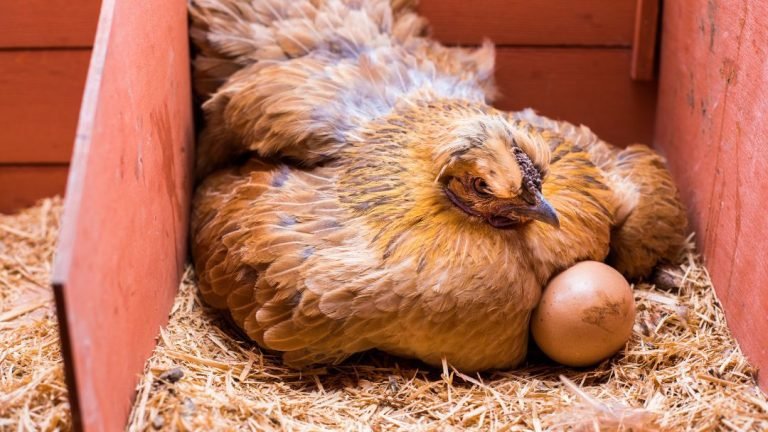
Do You Need To Clean Chicken Nesting Boxes While Brooding?
Hens generally take 21 days to hatch eggs. It can be more or less depending on the breed and weather.
You should change the bedding material before the chicken starts brooding. You may break eggs while replacing the bedding material.
Plus, hens may feel comfortable if you use a different bedding material. They may think these eggs are not their eggs.
Wait until the chicken hatches the eggs and changes it when the hens move out along with the baby chicks.
What Is The Best Bedding Material To Keep Chicken Nesting Boxes Clean?
All nesting materials will become dirty over time, regardless of their type. But some are more effective than others.
The following are various types of nesting bedding materials and their advantages.
| Nesting Materials | Advantage Of Usage |
|---|---|
| Nesting Pads | 01. Easy to clean and replace 02. Less likely to kick it out of the box 03. Minimal chances of broken or dirty eggs |
| Hay or Straw | 01. Minimizes bacterial growth and bumblefoot infections 02. Keeps chickens’ feet clean 03. Not prone to retain moisture or decay in the box |
| Pine Shavings | 01. low in cost and widely available 02. Offers excellent insulation 03. More absorbent than most other materials |
| Sand | 01. Minimizes bacterial growth, and bumblefoot infections 02. Keeps chickens’ feet clean 03. Not prone to retain moisture or decay in the box |
| Fallen Leaves Or Grass Clippings | 01. Freely available without any cost 02. Died grass clipping is better than hay 03. Works as the best nest liner |
Summing Up
Chicken nesting boxes are perfect for keeping your hens laying eggs peacefully. But when they become too dirty, your flocks feel unsecured and less attractive.
Make sure to clean these bird boxes regularly if you don’t want to spend hours collecting the eggs. Some might have already vanished by predators.
Hopefully, you have a clear idea of how to clean chicken nesting boxes. Take care of your birds properly to enjoy more egg and meat production.