To hatch chicken eggs at home, set fertile eggs in an incubator and maintain steady temperature and humidity until day 21. Most backyard keepers skip natural hatching under a broody hen and use an incubator because it cuts the failure rate and gives more control over conditions. Hatching at home takes effort and a clear plan, but the payoff is a rewarding, hands-on experience rather than a trip to the hatchery, local breeder, or supply store. First-timers usually make small mistakes that knock down the success rate, so it pays to walk through every step before you set the first egg. This guide covers the full process from picking fertile eggs to brooding the chicks that hatch.
We know hatching chicken eggs at home might be a hassle, as it takes a lot of effort and a sophisticated plan to succeed. But it can be a fun and rewarding experience.
Knowing how to hatch chicken eggs of your own at home is key. Instead of natural hatching, chicken keepers use an incubator to minimize the failure rate of hatchability.
If you have not hatched chicken eggs in the past, you may make some mistakes that can reduce the success rate. This article will give a complete idea about this optic.

Last update on 2026-04-23 / Affiliate links / Images from Amazon Product Advertising API
Key Takeaways
- To hatch chicken eggs at home, set fertile eggs in an incubator and hold steady temperature and humidity until day 21.
- Most backyard keepers choose an incubator over a broody hen because it lowers the failure rate and adds control.
- First-timers often make small mistakes that cut the success rate, so walk through every step before setting the first egg.
- The full process runs from picking fertile eggs through brooding the chicks once they hatch.
How To Hatch Chicken Eggs At Home?
You don’t just randomly add chicken eggs and hatch them into chicks.
It takes a proper plan to hatch eggs with an incubator.
The following are the key points that will increase your success in hatching eggs at home.
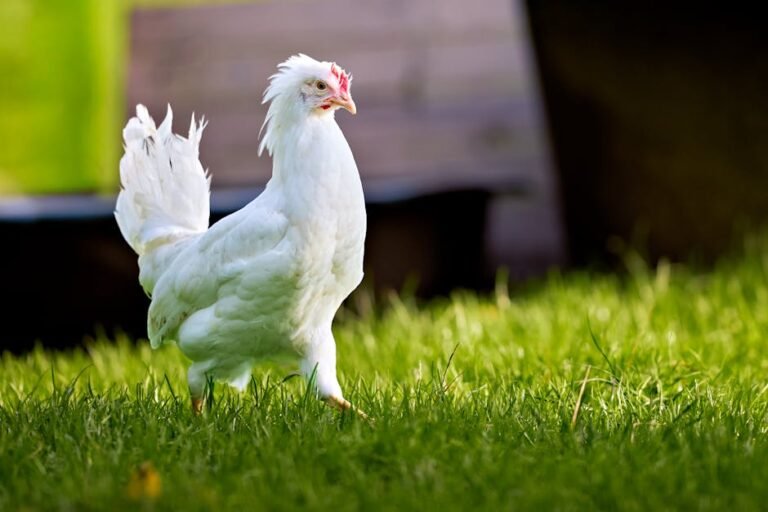
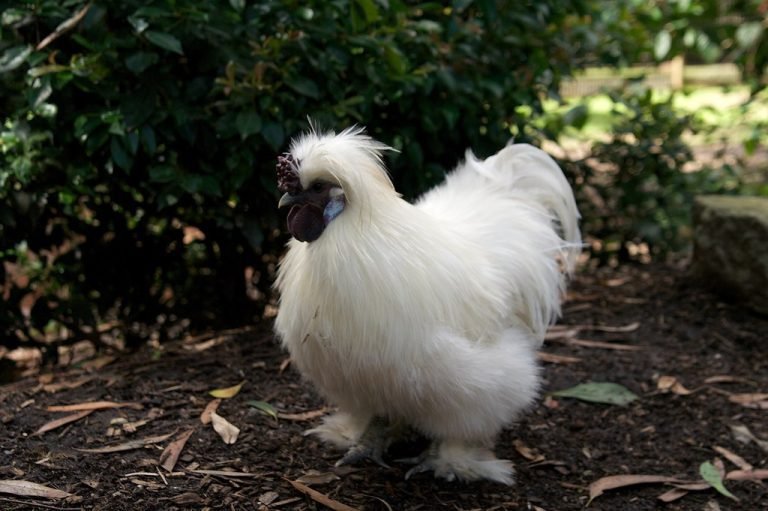
01. Collect Eggs From The Best Hens
Silkie, Cochin, Orpington, Brahma, and Sussex are well-known for laying fertile eggs.
As hens age, their fertility and hatchability decline. Older hens may produce eggs that are less likely to hatch as the quality of their eggs decreases.
Selecting hens for breeding that have good genetics and characteristics can improve the hatchability of their eggs.
Breeding hens with desirable traits such as high egg production, good egg quality, and strong fertility can increase the chances of producing viable eggs.
Hens that are healthy and free from diseases are more likely to produce eggs that hatch successfully.
Infectious diseases, parasites, and other health problems can negatively impact the hatchability of eggs.
02. Choose The Best Rooster For Mating With Hens
Roosters that have high fertility levels can improve their chances of producing viable eggs.
Select roosters with desirable traits. It can improve the quality of their sperm and increase the chances of producing healthy embryos inside the eggs.
Roosters that exhibit good mating behavior, such as courting and mating properly, can improve the fertilization rate and hatchability of eggs.
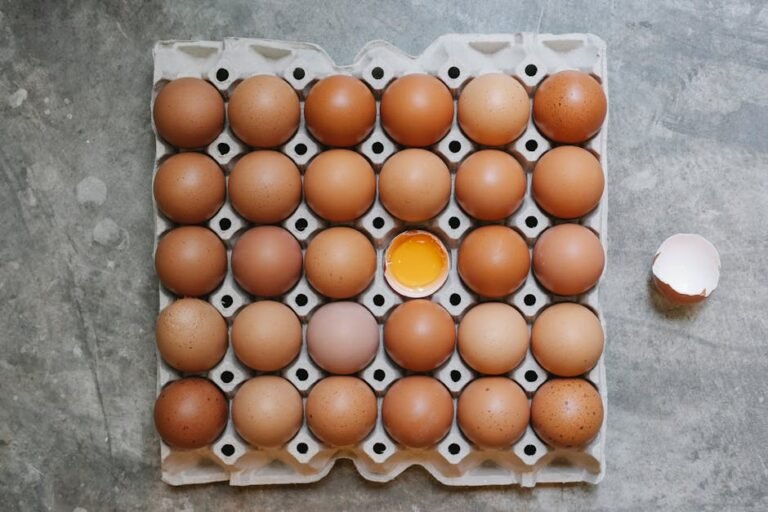
03. Select Well-shaped And Dirt-free Eggs
Choose well-formed eggs with strong, intact shells. They are more likely to contain healthy embryos.
Avoid selecting any eggs with cracks, deformities, or weak shells. They may have been damaged during laying. It can harm the embryo or allow harmful bacteria to enter the egg.
Also, you don’t want to choose any dirty or soiled eggs that can contain harmful bacteria, such as Salmonella or E. coli. It can infect the developing embryo and reduce hatchability.
Clean eggs are less likely to harbor bacteria, reducing the risk of infection. They are more likely to maintain proper humidity levels during incubation.
04. Wait At Least For 21 Days
Fertilized eggs usually take up to 21 days to hatch. Chicks can come out through the eggs as early as 18 days old.
However, the incubation period may sometimes take up to 30 days. The timing or temperature may have gone slightly awry, which causes a delay in hatching.
If some eggs are still remaining unhatched, test their fertility. If you don’t see any viable embryos, don’t wait any further. They are less likely to incubate anymore.
Avoid eating eggs that have already passed 21 days. They may have some bacterial problems. Consuming these eggs may make you sick.
05. Maintain The Right Temperature
The ideal temperature for hatching fertile eggs is 100.5 degrees Fahrenheit or 38.05 degrees Celsius.
Generally, fertile eggs need an additional temperature of one or two degrees Fahrenheit if the incubator uses forced air.
The temperature can’t be too high. If the temperature is more than 104.9 degrees Fahrenheit or 40.5 degrees Celsius, embryos will not survive.
Embryos will begin to form abnormally, weaken, and die.
Likewise, any temperature below 35 degrees Celsius or 95 degrees Fahrenheit will result in high embryo mortality.
06. Use The Right Humidity
Maintaining the right humidity is necessary to let chicks break through the eggs and pip out.
But what is the ideal humidity for hatching eggs? Keep the humidity level from 40% to 50% for the first 18 days. Then increase the humidity level up to 70% after 18 days.
During the early stages of incubation, the developing embryo requires less moisture than it does in the later stages.
But a bit higher humidity is necessary during the final three days to soften the egg shells and make the hatch a less tiresome experience.
Make sure the humidity level is not too low. Otherwise, chicks will be smaller and weaker due to a larger air space.
But extreme humidity will prevent normal evaporation and result in a lower hatch. Also, it will have trouble drying up and may be weighted down.
07. Hatch At Least a Minimum of Eggs
Most experts recommend hatching at least 6 to 8 eggs. Don’t think all eggs will be hatched when you keep them in your incubator.
The hatching success rate can be anywhere from 70% to 90%. Hence, you may lose one to three eggs for every ten eggs.
Generally, half of the chicks will be male and half female. For example, if you want four female chicks, make sure to set a minimum of 8 eggs.
Placing 3-5 eggs is not a good practice. You may have to go for another hatching session if the hatching success rate is too low.
08. Regularly Turn The Eggs
Chicken eggs are fragile. The embryo is likely to adhere to the shell and die if it gets close to the shell membranes. You want to keep it resting on top of the yolk.
Make sure to turn the eggs to create healthy embryo development. It also lets the embryo get enough fresh oxygen and nutrients into the inner area of the egg.
Besides, regular turning allows gases to move around effortlessly. There will be less likely any imbalanced temperature.
It is a good rule of thumb to turn eggs at least 4-6 times daily during incubation.
However, you don’t need to turn them in for the 19th to 21st days, as their embryos are already in a hatching position.
Don’t turn the eggs some days more frequently and some days less. Maintain consistency from the very first day.
09. Place The Eggs Correctly
Place the eggs inside the egg tray on their sides in the incubator. Ensure the larger end section faces upward, whereas the narrower section faces downward.
If you want to hatch too many eggs at a time, placing them upright is okay to maximize the space.
But keep the small end in a downward position where the air cell is located.
It needs to be at the top for the embryo to develop properly. You can also use an egg tray or carton to help keep the eggs upright.
Leave some space between the eggs so that there is room for air to circulate around them.
Do you have a forced-air incubator? Place the fan at the top of the unit and the pointed end facing the fan direction for even heat distribution.
10. Ensure Enough Ventilation
Make sure the incubator receives enough ventilation. It is essential during the incubation process.
The embryo inside the egg starts developing within 1-3 days. As they grow, they need more supply of fresh oxygen.
Also, a well-ventilated incubator removes carbon dioxide to avoid making the internal environment excessively warm.
Incubators generally have holes or vents to evaporate water from the eggs and hatch eggs gradually and continuously. These holes help remove moisture from the incubator.
Adequate ventilation helps to prevent the buildup of bacteria and other harmful microorganisms inside the incubator.
It also ensures the heat is evenly distributed throughout the incubator and that hot spots are avoided.
11. Keep The Incubator Closed
Keeping the incubator closed to maintain a well-balanced temperature and humidity is a good rule of thumb.
You should not open the incubator until after all chicks are hatched, especially for the last three days.
Opening the incubator during this period may result in sticking the dry membrane to the chick. It will tear down their skin or make their feathers too fluffy.
Repeatedly opening the incubator during hatching will reduce the humidity levels massively.
However, make sure to keep the air vents almost fully open during the latter stages of hatching to ensure adequate ventilation.
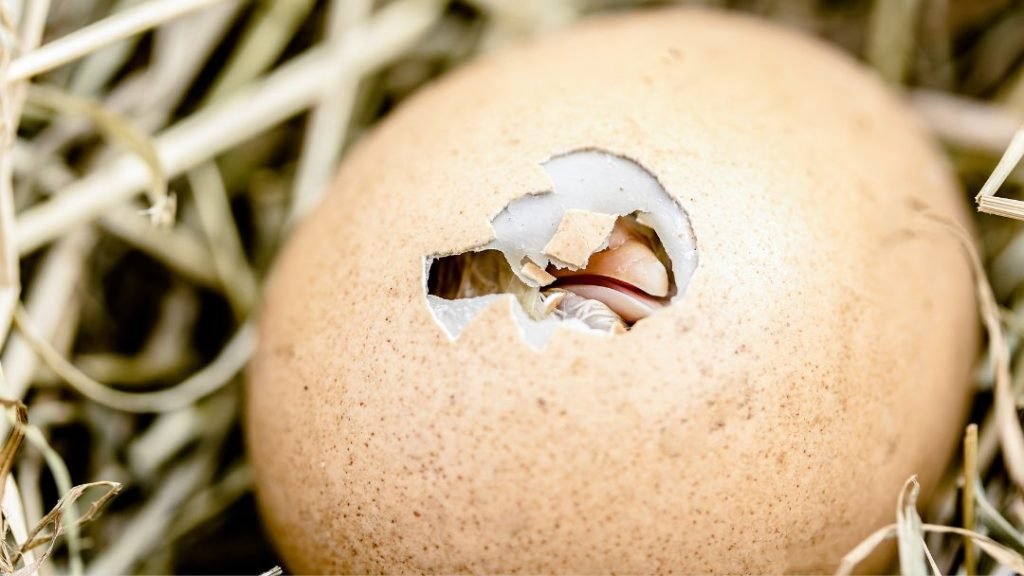
12. Let Chicks Come Out Naturally Through The Shell
Some chicken keepers help their chicks get out of their shells. You should not intervene in the hatching process. Let them naturally come out by breaking the shell.
Healthy chicks don’t need any assistance. They are strong enough to zip the shell of their own fully. But weaker or sick chicks may not come out and survive.
Once you see any pip in the eggshell, wait for 24 hours. Chicks usually take around 6-8 hours to come out of their own eggshell.
Which One Is Better: Natural Incubation Or Artificial Incubator?
Both natural incubation and artificial incubation have advantages and disadvantages.
The tables below show the pros and cons of each incubation procedure.
| Pros of Natural Incubation | Cons of Natural Incubation |
|---|---|
| Can have lower hatch rates than an artificial incubator | The labor requirement is low |
| Don’t need any expensive equipment, such as incubators and hatcheries | A more time-consuming process |
| Increased genetic diversity within your flock | Need a safe and comfortable nesting area |
| Does not require particular skill or expertise | Less control over the conditions in which the eggs are incubated |
| Labor requirement is low |
Now let’s take a look at the artificial incubator:
| Pros of Artificial Incubator | Cons of Artificial Incubator |
|---|---|
| Not prone to spreading parasites and diseases to the chicks | Requires some technical knowledge to operate |
| Not prone to spread parasites and diseases to the chicks | Chicks may require more care and attention after hatching |
| No chance of the hen damaging eggs | Requires a steady supply of electricity to function |
| Easy to control the environment and humidity level | |
| A consistent and controlled environment for incubating eggs | |
| Can be used year-round, regardless of weather or season, |
Bottom Line
Hearson was the first brand to introduce a commercial incubator in 1881 in Paris, France. But the electric egg incubator was first invented in 1922 by Ira M. Petersime of Gettysburg, Ohio, USA.
Over the years, the incubator has evolved a lot. But its main job remained the same: controlling the temperature and humidity level of the eggs and creating a favorable environment for hatching.
We have already discussed how to hatch chicken eggs of your own at home. Make sure to follow the key factors to become 100% successful in hatching.